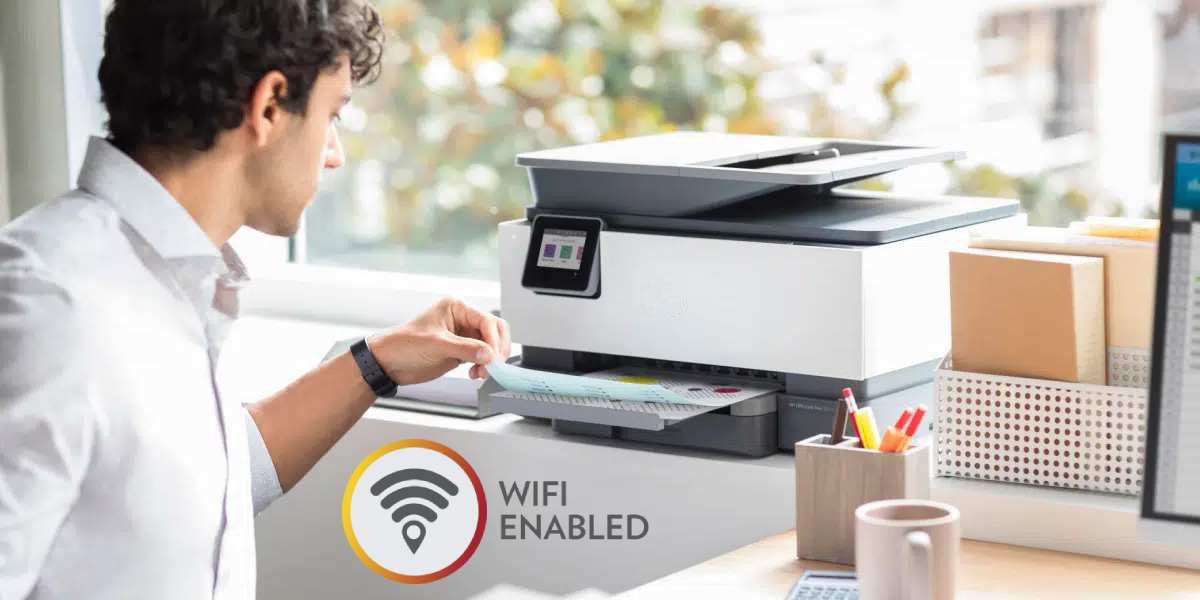
The Dell E310dw is a compact monochrome laser printer that offers wireless printing capabilities, making it an excellent choice for both home and small office use. Setting up your Dell E310dw to connect to a Wi-Fi network is straightforward and allows you to enjoy the convenience of printing from multiple devices without dealing with tangled cables. This guide will walk you through the step-by-step process for how to connect a Dell E310dw printer to Wi-Fi.
Step 1: Gather Necessary Information
Before starting, ensure you have the following information handy:
- Wi-Fi Network Name (SSID): The name of the wireless network you want to connect to.
- Wi-Fi Password: The password for your network.
- A Device (Computer or Smartphone): You’ll need this to configure the printer.
Ensure your printer is powered on and within range of your Wi-Fi router.
Step 2: Connect the Printer to Your Computer
- Via USB Cable: Temporarily connect the printer to your computer using the USB cable provided with the printer. This step is necessary for the initial setup.
- Install Printer Software: Download and install the Dell E310dw printer driver from Dell’s official website. Follow the on-screen prompts to complete the installation.
Step 3: Access the Printer’s Configuration
- Once the driver is installed, open the Dell Printer Configuration Tool on your computer.
- Select the Wireless Setup option to begin the process.
Step 4: Connect the Printer to Your Wi-Fi Network
- Select Wireless Network: The software will scan for available Wi-Fi networks. Choose your network from the list.
- Enter Wi-Fi Password: Input the password for your network and confirm.
The printer will attempt to connect to the Wi-Fi network. Once the connection is established, the status light on the printer will turn solid blue.
Step 5: Disconnect the USB Cable
After successfully connecting to Wi-Fi, disconnect the USB cable from both the printer and the computer. The printer is now ready to print wirelessly.
Step 6: Add the Printer to Your Devices
To start printing wirelessly, you’ll need to add the printer to your device.
On Windows:
- Go to Settings > Devices > Printers & Scanners.
- Click Add a Printer or Scanner and select your Dell E310dw from the list.
On Mac:
- Go to System Preferences > Printers & Scanners.
- Click the + button, select your Dell printer, and click Add.
On Smartphones/Tablets:
- Ensure your mobile device is connected to the same Wi-Fi network.
- Download a printing app like Dell Document Hub or use the built-in printing feature on your device to locate the printer.
Troubleshooting Tips
If the printer does not connect to Wi-Fi:
- Verify that the Wi-Fi credentials are correct.
- Ensure the printer and router are within range.
- Restart both the printer and the router.
- Reset the printer’s network settings by pressing and holding the Go button for 20 seconds.
Final Thoughts
The Dell E310dw is a versatile and reliable printer that becomes even more efficient when connected to Wi-Fi. By following the steps outlined above, you can set up your printer for wireless operation in no time. Enjoy the freedom of printing from any device connected to your network, enhancing productivity and convenience.
You Might Like Also

Geek Squad Canada +1-808-989-8217 - Geek Squad Ca

1-800 Geek Squad: Your Direct Line to Expert Assistance

Understanding Spirit Airlines Name Change: Your Complete Guide

Navigating Delta Airlines Flight Changes +1-844-524-2867


