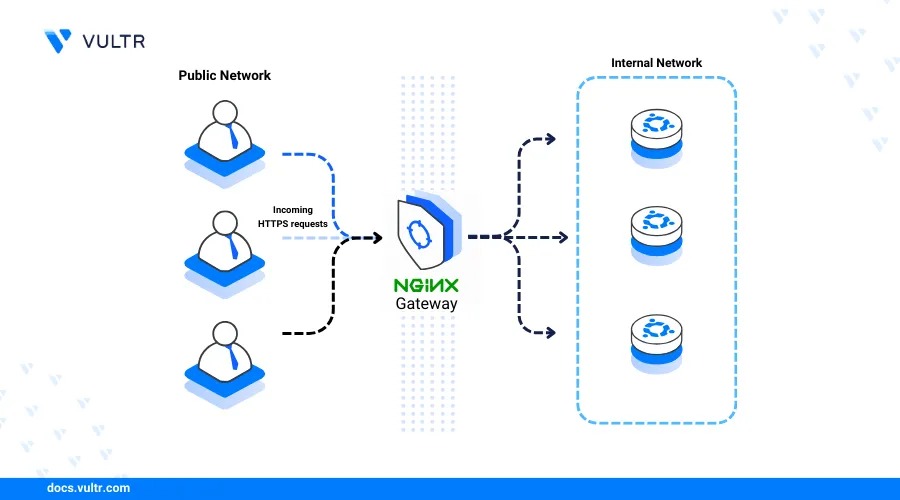
Introduction to Nginx Web Server
Nginx is one of the most powerful and high-performance web servers widely used for hosting websites, serving static content, reverse proxying, and load balancing. If you're running a server with the latest Ubuntu 24.04, installing Nginx is a smart choice for performance and scalability.
If you're looking to deploy a powerful and high-performance web server on your Linux machine, understanding how to install Nginx web server on Ubuntu 24.04 is essential. Ubuntu 24.04, the latest LTS (Long Term Support) release from Canonical, provides better security, performance, and compatibility, making it an excellent platform for deploying modern web applications. Nginx, known for its efficiency and ability to handle large amounts of traffic with minimal resource usage, is the go-to choice for many developers and system administrators. To begin the installation process on Ubuntu 24.04, you must first ensure that your system is up to date. Open your terminal and run sudo apt update && sudo apt upgrade to fetch the latest package updates and patches. Once your system is updated, you can proceed to install Nginx by executing the command sudo apt install nginx. This will download and install the latest version of Nginx from the Ubuntu repositories. After installation, Nginx should start automatically.
You can verify this by checking the service status using systemctl status nginx. If it's active and running, your web server is now live. To confirm that Nginx has been properly installed, open a web browser and navigate to your server's IP address (for example, http://your_server_ip). You should see the default Nginx welcome page, indicating the server is operating correctly. If you're working behind a firewall, make sure HTTP and HTTPS traffic are allowed by running sudo ufw allow 'Nginx Full'. This command configures the firewall to permit traffic on ports 80 and 443, which are essential for serving web content. For better security and flexibility, it's also a good idea to create a new server block configuration file instead of modifying the default one. Nginx server blocks are similar to Apache virtual hosts and allow you to host multiple websites on a single server. To create a new server block, first make a new directory in /var/www/yourdomain.com and set the proper ownership using sudo chown -R $USER:$USER /var/www/yourdomain.com.
Next, create a basic HTML file to test your setup using nano /var/www/yourdomain.com/index.html, and add simple HTML code like
It works!
. Now, you need to create a new configuration file inside /etc/nginx/sites-available/yourdomain.com and add server block settings. You can copy the default config file as a template and then edit it. Once your configuration file is ready, enable it by creating a symbolic link to it in the /etc/nginx/sites-enabled/ directory using sudo ln -s /etc/nginx/sites-available/yourdomain.com /etc/nginx/sites-enabled/. After this, test your configuration using sudo nginx -t to ensure there are no syntax errors, and then reload Nginx with sudo systemctl reload nginx. With this setup, you can now serve content from your custom web root directory. In addition to basic installation, you can further optimize your server by installing SSL certificates using Let’s Encrypt for HTTPS. To do this, install Certbot with sudo apt install certbot python3-certbot-nginx, and then run sudo certbot --nginx to automatically configure SSL for your domain. Having a secure website is crucial not only for protecting user data but also for improving your SEO rankings. Nginx’s modular design also allows you to configure caching, load balancing, and reverse proxy features to boost performance. Moreover, Nginx integrates seamlessly with tools like PHP-FPM, making it ideal for hosting dynamic sites like WordPress or Laravel-based applications. You can install PHP and the required modules using sudo apt install php-fpm and update your server block to include PHP processing settings. Keep in mind that after any configuration change, it’s a good practice to always test the config with nginx -t and reload the service to apply changes.Understanding how to install Nginx on Ubuntu gives you a reliable and scalable way to serve web content, whether for personal projects or enterprise-level websites. This installation method is also suitable for cloud servers like AWS EC2, Google Cloud, or DigitalOcean droplets running Ubuntu 24.04. If you're planning to scale your application or serve APIs, Nginx's performance under load makes it the right tool for the job. The above steps give you a comprehensive guide on how to install Nginx web server on Ubuntu 24.04, configure basic security, and set up a custom domain to serve your content. As Ubuntu 24.04 continues to grow in adoption, pairing it with the powerful Nginx server ensures your site is ready for production traffic with performance and stability in mind. Whether you're hosting a static site or a dynamic CMS, learning to install Nginx on Ubuntu 24.04 puts you on the path to professional-grade web hosting.


