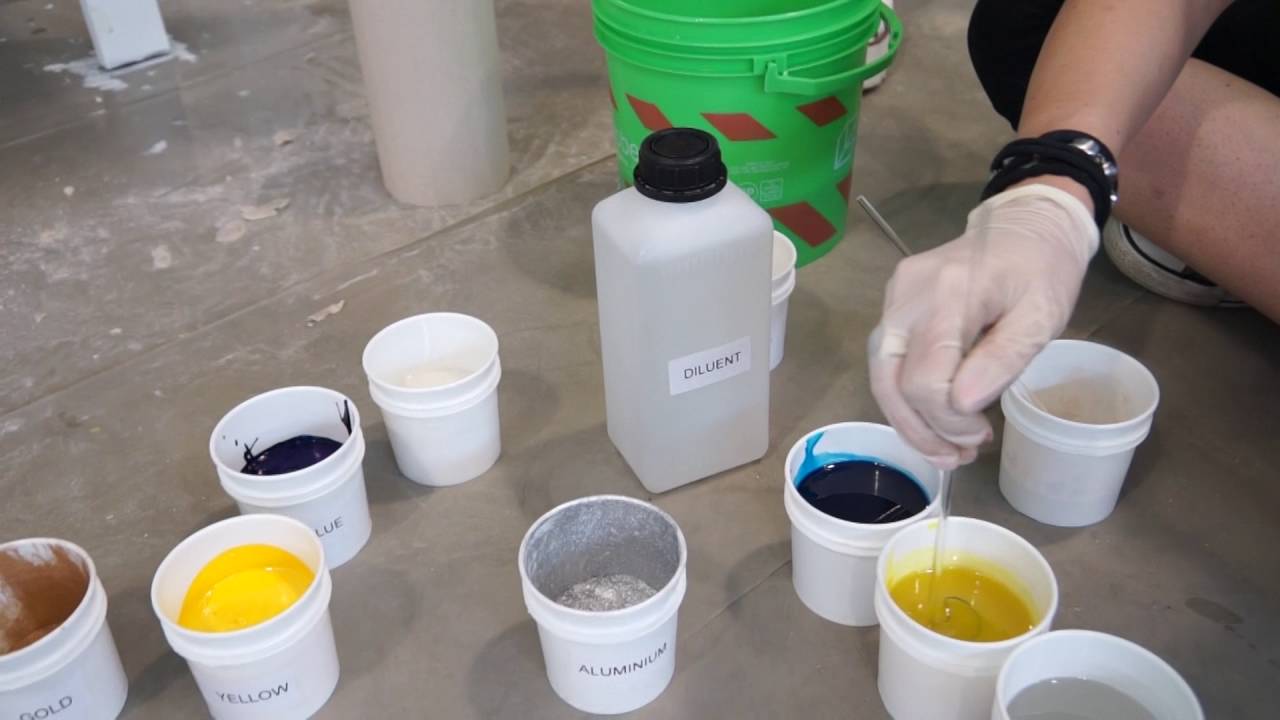
Epoxy resin is an artistic medium with which artists make beautiful water effects in painting, sculpture, and dioramas. You could be creating a sea landscape, a river environment, or even a miniature pond, and understanding the right processes will see you achieve perfect water effects. This article looks into how to give epoxy resin a real-water effect, touching on necessary materials, processes, and professional tips.
Understanding Epoxy Resin and Its Properties
Epoxy resin is a two-component system comprising resin and hardener. When blended properly, it hardens into a hard, clear, and glossy finish. Its self-leveling characteristic makes it perfect for producing water-like effects on an artwork. To achieve realism, though, will need thorough layering, coloring, and texturing.
Required Materials for Making Water Effects with Epoxy Resin
To produce a realistic water effect, you must have the following materials:
Epoxy resin and hardener (high-quality, clear casting resin)
Mixing cups and stir sticks
Pigments and dyes (transparent blue, green, or brown for water colors)
Alcohol inks (to create depth and shading)
Silicone molds or a prepared art surface
Heat gun or torch (to pop bubbles and make waves)
Acrylic paints (for detailing the base)
Texturing tools (to make ripples and waves)
Protective gloves and a well-ventilated workspace
Step-by-Step Guide to Making Epoxy Resin Look Like Real Water
Step 1: Prepare Your Surface or Mold
You need to prepare your base first before pouring the resin. If you are painting on a canvas, wood panel, or mold, coat the base with acrylic paints to achieve the underwater color gradient. You can use a deep blue or turquoise at the deeper parts that transition into lighter shades towards the shore for increased realism.
Step 2: Mix and Color the Resin
Measure and combine the epoxy resin as per the instructions of the manufacturer.
Mix transparent resin dyes or alcohol inks to the desired water tone. Apply sparingly, as excessive pigment can diminish transparency.
Slowly stir to prevent excessive bubbles.
Step 3: Pour the Resin in Layers
Pour a thin foundation layer and allow it to cure somewhat before continuing to add more.
Several thin layers produce depth and enable more control over shading and textures.
Add subtle color differences between each layer to achieve a natural appearance.
Step 4: Add Realistic Details
Use a heat gun or a torch to remove bubbles and produce minor ripples.
To achieve waves or water ripples, blow soft air over the resin with a straw or a small fan while it's still in the curing process.
For ocean effects, blend a small quantity of white resin and drag it lightly over the surface to form foam or crashing waves.
Step 5: Add Additional Effects
Bury small objects such as sand, pebbles, or tiny marine items for extra realism.
Utilize clear resin to produce water droplets or splashes.
Finish with a final glossy topcoat for added depth and shine.
Common Mistakes and How to Avoid Them
Overmixing Resin – Produces too much bubbling. Stir lightly and utilize a heat gun to pop bubbles.
Too Much Pigment – Thicknesses resin. Utilize clear dyes with restraint.
Pouring Too Thick – Causes uneven curing. Work in layers at all times.
Not Using a Level Surface – Resin can cure unevenly. Make certain your work area is level.
Skipping Surface Preparation – Renders adhesion poor and results in no depth.
Final Thoughts
Proper realization of epoxy resin water effects demands both practice and patience. Proper application of resin layering and pigment integration along with textural work enables you to craft beautiful lifelike water features within your artwork. Anyone at any level of epoxy resin expertise will gain from developing these skills to reach new heights in their resin projects.
Proper implementation of these steps converts normal resin creations into beautiful art pieces with water-effect simulation. Try new colors, textures, and equipment to hone your skills and come up with individualistic artistic approaches.


