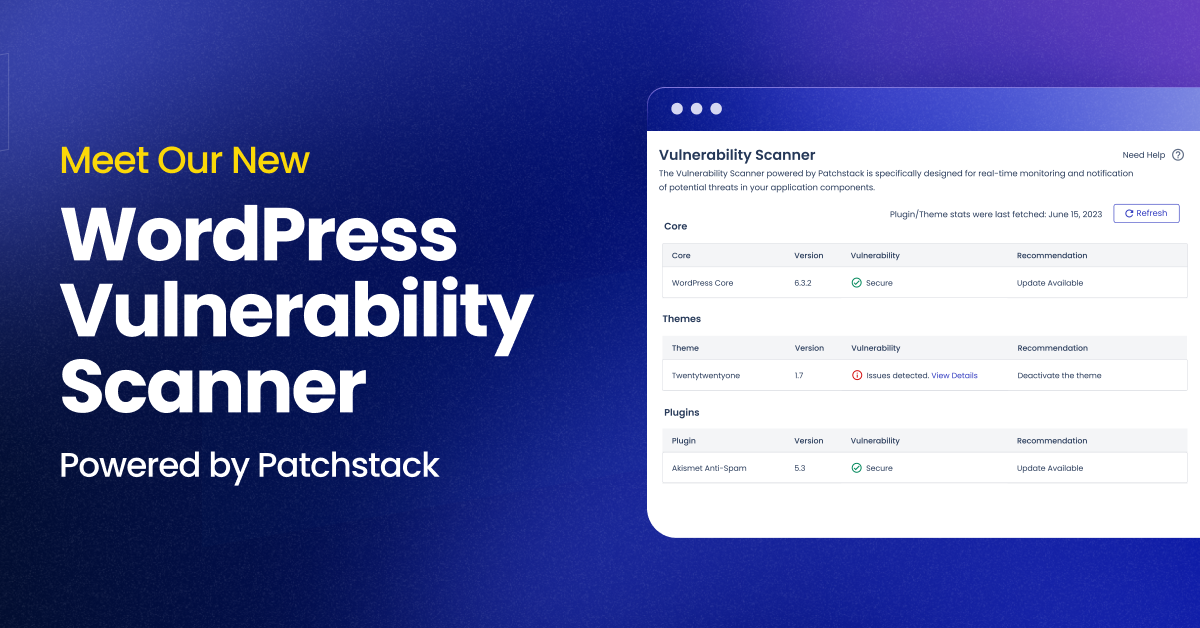
WordPress is the most popular content management system (CMS), but its popularity also makes it a prime target for cyberattacks. Regularly scanning your WordPress site for vulnerabilities is crucial to ensure its security. One effective way to perform this is by leveraging VirtualBox, an open-source virtualization tool, to create a secure testing environment.
In this blog post, we’ll walk you through the steps to scan vulnerabilities on WordPress using VirtualBox.
What Is VirtualBox?
VirtualBox is a free and open-source tool that allows you to run multiple operating systems on your computer in virtual environments. Using VirtualBox, you can set up a dedicated virtual machine (VM) to test and scan your WordPress site without impacting your live website.
Why Use VirtualBox for WordPress Vulnerability Scanning?
- Safe Testing Environment: Avoid risks to your live site during scans.
- Isolation: Keep your WordPress site separate from the host system.
- Cost-Effective: Free to use and highly configurable.
- Flexibility: Test different tools and configurations with ease.
Step-by-Step Guide
1. Set Up VirtualBox
- Download and Install:
Visit the VirtualBox website and download the software for your operating system. - Create a Virtual Machine:
- Open VirtualBox.
- Click New and configure your VM with sufficient RAM and storage.
- Install a Linux-based operating system like Ubuntu or Kali Linux.
2. Install WordPress on the Virtual Machine
- Set Up a Local Server:
- Install server software like XAMPP, LAMP, or WAMP.
- Configure the server to run WordPress.
- Download WordPress:
- Get the latest version of WordPress from wordpress.org.
- Set up the WordPress site on the local server with a test database.
3. Choose a Vulnerability Scanning Tool
Select a WordPress vulnerability scanner. Some popular tools include:
- WPScan: A command-line tool specifically for WordPress.
- Nmap: A network scanner that identifies open ports and potential security issues.
- Nikto: A web server scanner to detect outdated software and misconfigurations.
- Wordfence Scanner: A plugin that can be tested in your local environment.
4. Scan Your WordPress Installation
- Install WPScan:
- Open the terminal in your virtual machine.
- Install WPScan by running:
- Run the Scan:
Use the following command:This will scan your local WordPress site and list vulnerabilities, outdated plugins, and weak passwords.
5. Analyze the Results
- Review the vulnerabilities found during the scan.
- Identify outdated plugins, themes, or weak configurations.
- Prioritize fixing critical issues first.
6. Fix the Issues
- Update WordPress Core, Plugins, and Themes: Always use the latest versions.
- Remove Unused Plugins/Themes: Eliminate any unnecessary components.
- Strengthen Login Credentials: Use strong passwords and enable two-factor authentication (2FA).
- Harden Security: Implement a firewall and block unnecessary ports.
Best Practices for Ongoing Security
- Regular Scans: Schedule vulnerability scans periodically.
- Backup Your Site: Maintain regular backups in case of a breach.
- Monitor Activity: Use tools like Wordfence or Sucuri for real-time monitoring.
- Secure Hosting: Choose a hosting provider with strong security measures.
Conclusion
Scanning vulnerabilities on WordPress using VirtualBox provides a safe and efficient way to protect your site. Creating an isolated environment allows you to test and fix issues without risking your live website. Regular vulnerability scans and proactive measures ensure your WordPress site remains secure and operational.
For more tips on securing WordPress, check out the full guide on How to Scan Vulnerabilities on Wordpress using virtualbox


